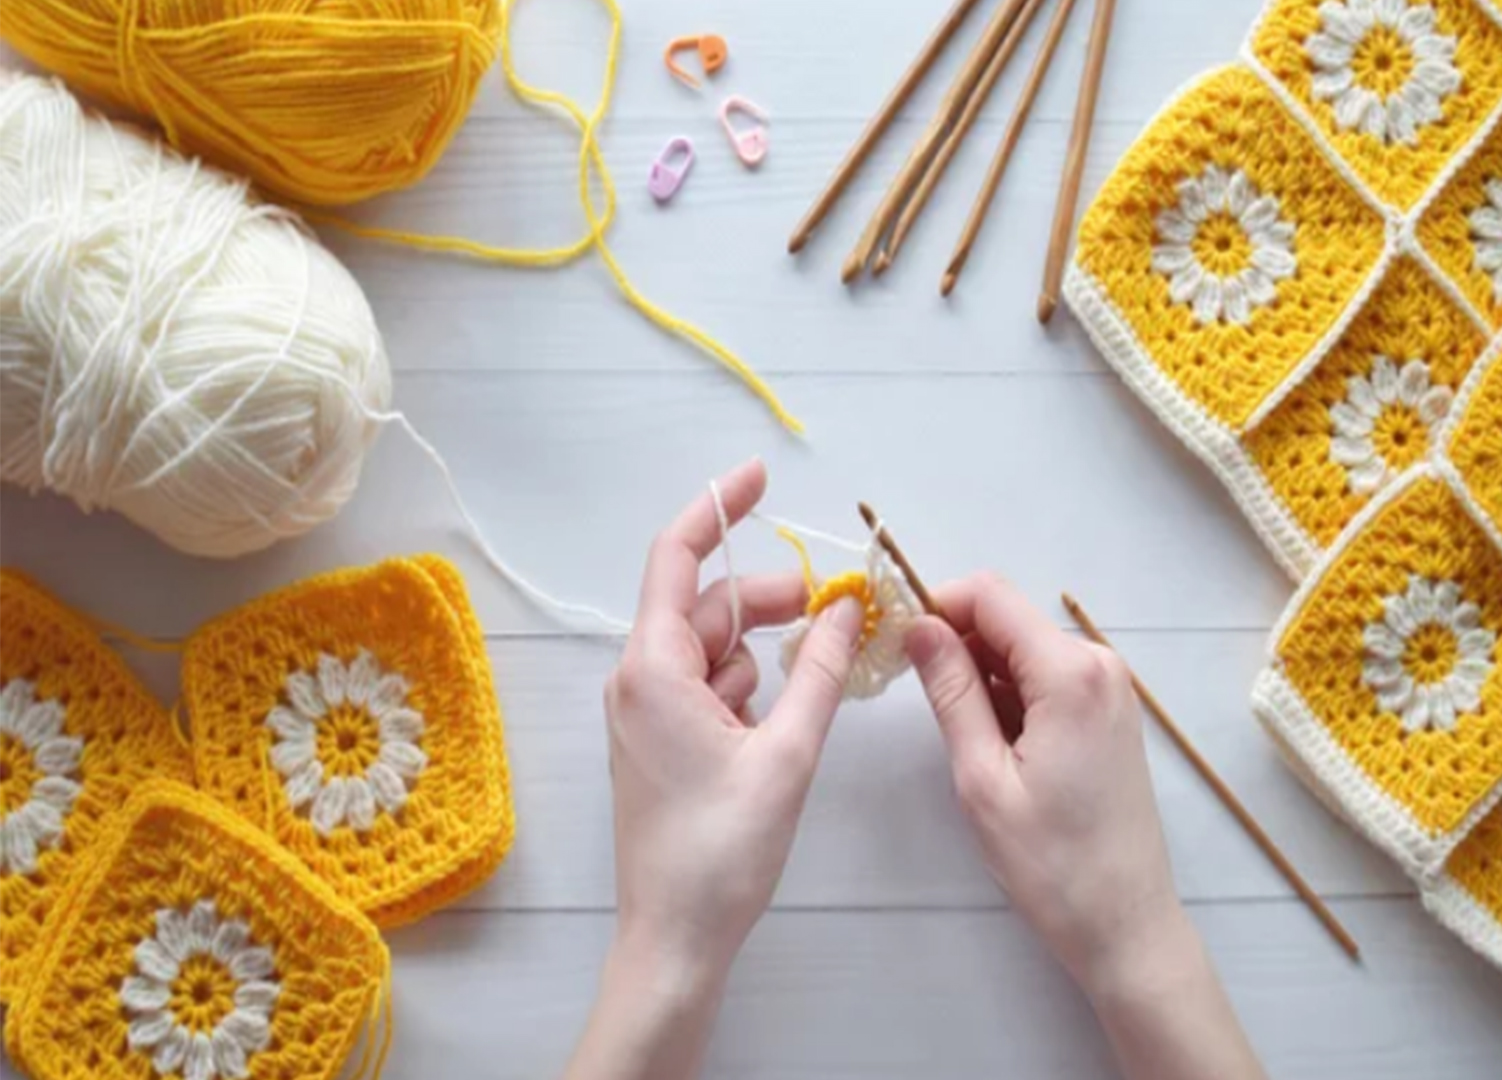
Crocheting a granny square is a wonderful project for beginners. It’s simple, versatile, and a fantastic way to practice basic crochet techniques. Whether you want to make a blanket, a scarf, or even a bag, learning how to crochet a granny square is the perfect starting point. This guide will walk you through the steps, providing tips and tricks along the way.
What You’ll Need
- Yarn: Choose a medium-weight yarn, which is easy to handle for beginners.
- Crochet Hook: A size H/8 (5mm) hook works well with medium-weight yarn.
- Scissors: To cut your yarn.
- Yarn Needle: For weaving in the ends.
Basic Stitches You’ll Use
Before you start, it’s important to know a few basic stitches:
- Chain Stitch (ch): This forms the foundation of your granny square.
- Slip Stitch (sl st): Used to join rounds and move between spaces.
- Double Crochet (dc): The main stitch used to create the granny square.
Step-by-Step Instructions
- Start with a Slip Knot:
- Begin by making a slip knot and placing it on your crochet hook. This will be the first stitch of your chain.
- Create the Foundation Chain:
- Chain 4 stitches. This chain will form the center of your granny square.
- Form a Ring:
- Slip stitch into the first chain to form a small ring. This ring is where you’ll crochet your first round.
- Round 1: The First Cluster:
- Chain 3 (this counts as your first double crochet).
- Work 2 double crochet stitches into the ring. This forms your first cluster of three double crochet stitches.
- Chain 2 to create a corner space.
- Repeat this process (3 double crochets followed by a chain 2) three more times.
- Slip stitch into the top of the first chain 3 to close the round. You should now have four clusters of three double crochets, with chain 2 spaces between them.
- Round 2: Building Outwards:
- Slip stitch into the next chain 2 space.
- Chain 3 (this counts as your first double crochet of the new round).
- In the same chain 2 space, work 2 double crochets, chain 2, and then 3 more double crochets. This forms your first corner.
- Move to the next chain 2 space and repeat the process (3 double crochets, chain 2, 3 double crochets) to form the next corner.
- Continue this pattern until you’ve worked in each chain 2 space from the previous round.
- Slip stitch into the top of the first chain 3 to close the round.
- Round 3 and Beyond:
- Each subsequent round is built in a similar way. For each round:
- Slip stitch into the next chain 2 corner space.
- Chain 3, then work 2 double crochets, chain 2, and 3 more double crochets into the same space.
- In the next space between clusters (not a corner), work 3 double crochets.
- Continue this pattern around, working corners as described and 3 double crochets in each space between clusters.
- Slip stitch to join.
- Each subsequent round is built in a similar way. For each round:
- Finishing Your Granny Square:
- Once your granny square reaches the desired size, finish off by cutting your yarn and pulling it through the last loop on your hook.
- Use a yarn needle to weave in any loose ends.
Tips for Success
- Consistent Tension: Keep your tension consistent to ensure that your granny square has an even appearance.
- Changing Colors: If you want to change colors, simply start the new color in the slip stitch at the end of a round. This is a great way to add variety to your project.
- Practice: The more you practice, the quicker and more confident you’ll become. Don’t worry if your first few squares aren’t perfect—every stitch is progress!
Creative Uses for Granny Squares
Once you’ve mastered the basic granny square, the possibilities are endless. You can connect multiple squares to create blankets, pillows, or scarves. Experiment with different colors, yarns, and even add embellishments like tassels or fringes.
Conclusion
Crocheting a granny square is an excellent way to start your crochet journey. It’s a simple yet satisfying project that can be adapted in countless ways. With a bit of practice, you’ll be creating beautiful granny squares in no time! So grab your hook and yarn, and start crocheting your first granny square today!

