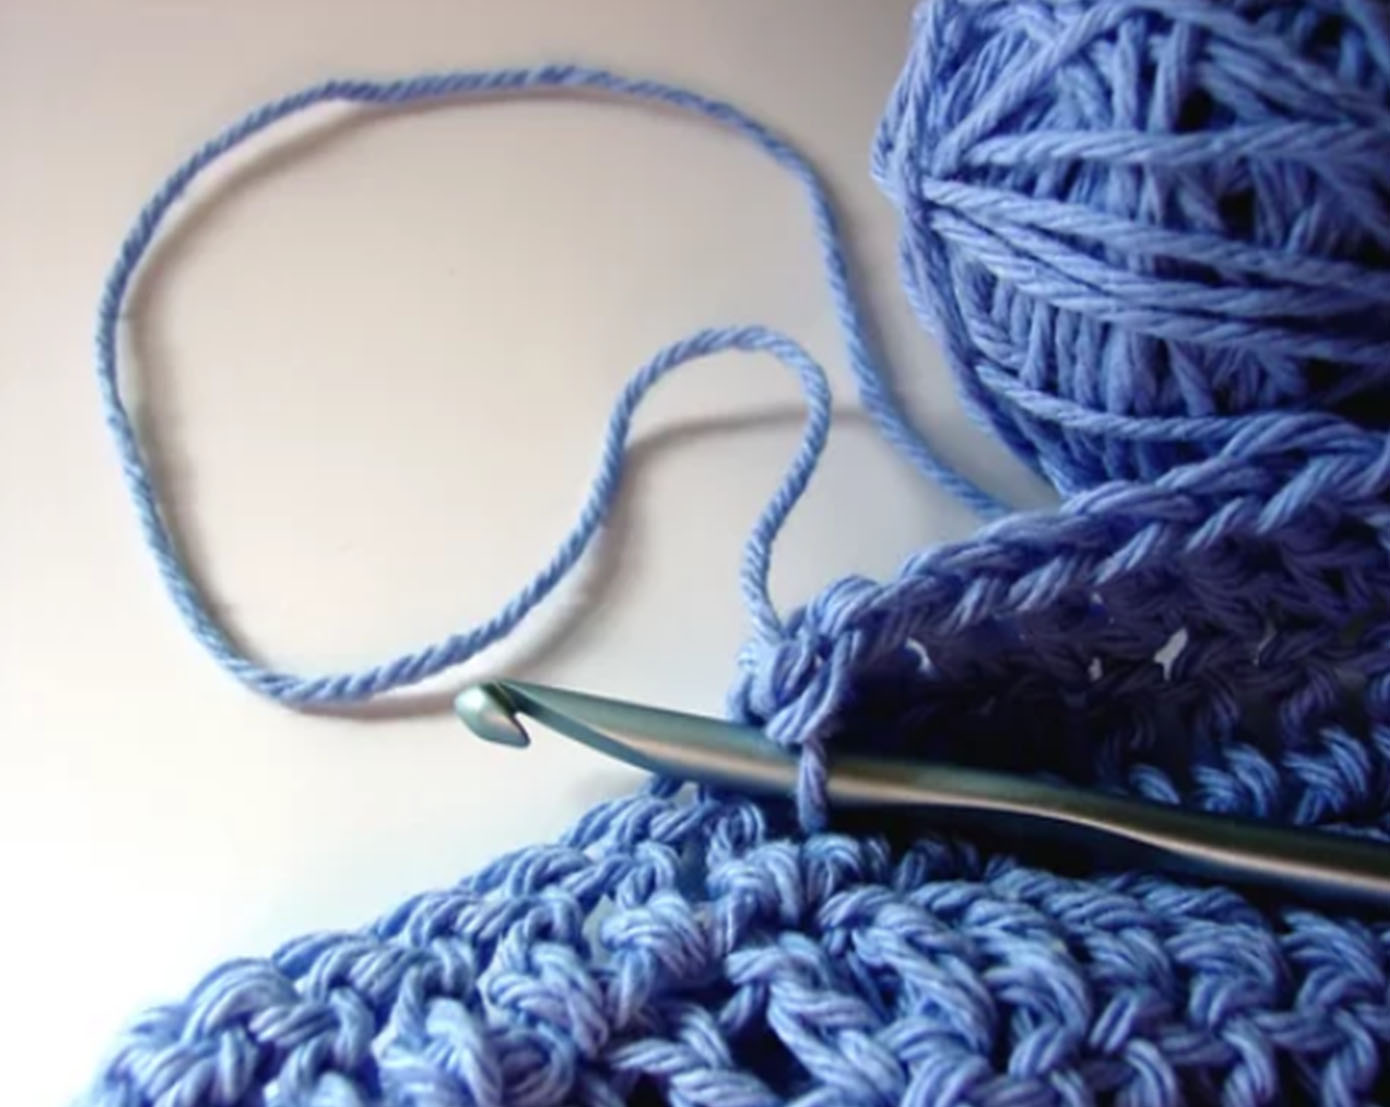
The crossed ripple stitch is a beautiful and intricate crochet pattern that adds texture and visual interest to any project. This stitch combines the classic ripple (or chevron) pattern with a cross-over technique, creating a dynamic and eye-catching design. Whether you’re making a blanket, scarf, or other crochet item, the crossed ripple stitch can elevate your work. Here’s a detailed guide on how to create this stunning stitch.
Materials Needed
- Yarn: Choose any yarn you like, though a medium-weight yarn is recommended for beginners.
- Crochet Hook: Use the hook size recommended for your chosen yarn.
- Scissors: For cutting yarn.
- Tapestry Needle: For weaving in ends.
Abbreviations
- ch: Chain
- sc: Single crochet
- dc: Double crochet
- tr: Treble crochet
- st: Stitch
- sk: Skip
- rep: Repeat
Step-by-Step Instructions
1. Foundation Chain
Start by creating a foundation chain. The number of chains you need will depend on the width of your project. The crossed ripple stitch pattern requires a multiple of 16 chains plus 3 additional chains for the turning chain.
Example: For a small swatch, you might start with 35 chains (32 for the pattern repeat + 3 turning chains).
2. Row 1: Setting Up the Base
- Dc in 4th ch from hook (the first 3 ch count as the first dc).
- Dc in next 3 ch.
- [Dc2tog over next 2 ch] twice (this creates the valley of the ripple).
- Dc in next 3 ch.
- 2 dc in next ch twice (this creates the peak of the ripple).
- Repeat steps 2-5 across the row.
- End with 1 dc in each of the last 3 ch.
Turn your work.
3. Row 2: Introducing the Crossed Ripple
- Ch 3 (counts as first dc), dc in next 3 sts.
- [Dc2tog over next 2 sts] twice.
- Dc in next 3 sts.
- Crossed dc: Sk next st, dc in next st, dc in skipped st (this creates the crossover effect).
- Crossed dc: Sk next st, dc in next st, dc in skipped st (completes the peak).
- Repeat steps 1-5 across the row.
- End with 1 dc in each of the last 3 sts.
Turn your work.
4. Row 3 and Beyond: Continuing the Pattern
Repeat Row 2 for the desired length of your project. The crossed ripple effect will become more pronounced as you add rows.
Tips for Success
- Consistency is Key: Ensure that your tension remains consistent throughout the project to maintain the evenness of the ripples.
- Count Your Stitches: Regularly count your stitches to ensure you are maintaining the correct stitch count for the pattern repeats.
- Use Stitch Markers: Place stitch markers at the peaks and valleys of your ripples to help keep track of your pattern.
Variations
- Color Changes: Experiment with different colors to highlight the ripple and cross-over effects. You can change colors at the end of each row or create a gradient effect by gradually transitioning colors.
- Different Yarns: Try using different types of yarn to see how the texture and appearance of the crossed ripple stitch change.
Conclusion
The crossed ripple stitch is a versatile and visually appealing pattern that can add a unique touch to various crochet projects. While it might look complex, breaking it down into manageable steps makes it accessible even for intermediate crocheters. By following this guide, you can master the crossed ripple stitch and create beautiful, textured items that showcase your crochet skills. Happy crocheting!

