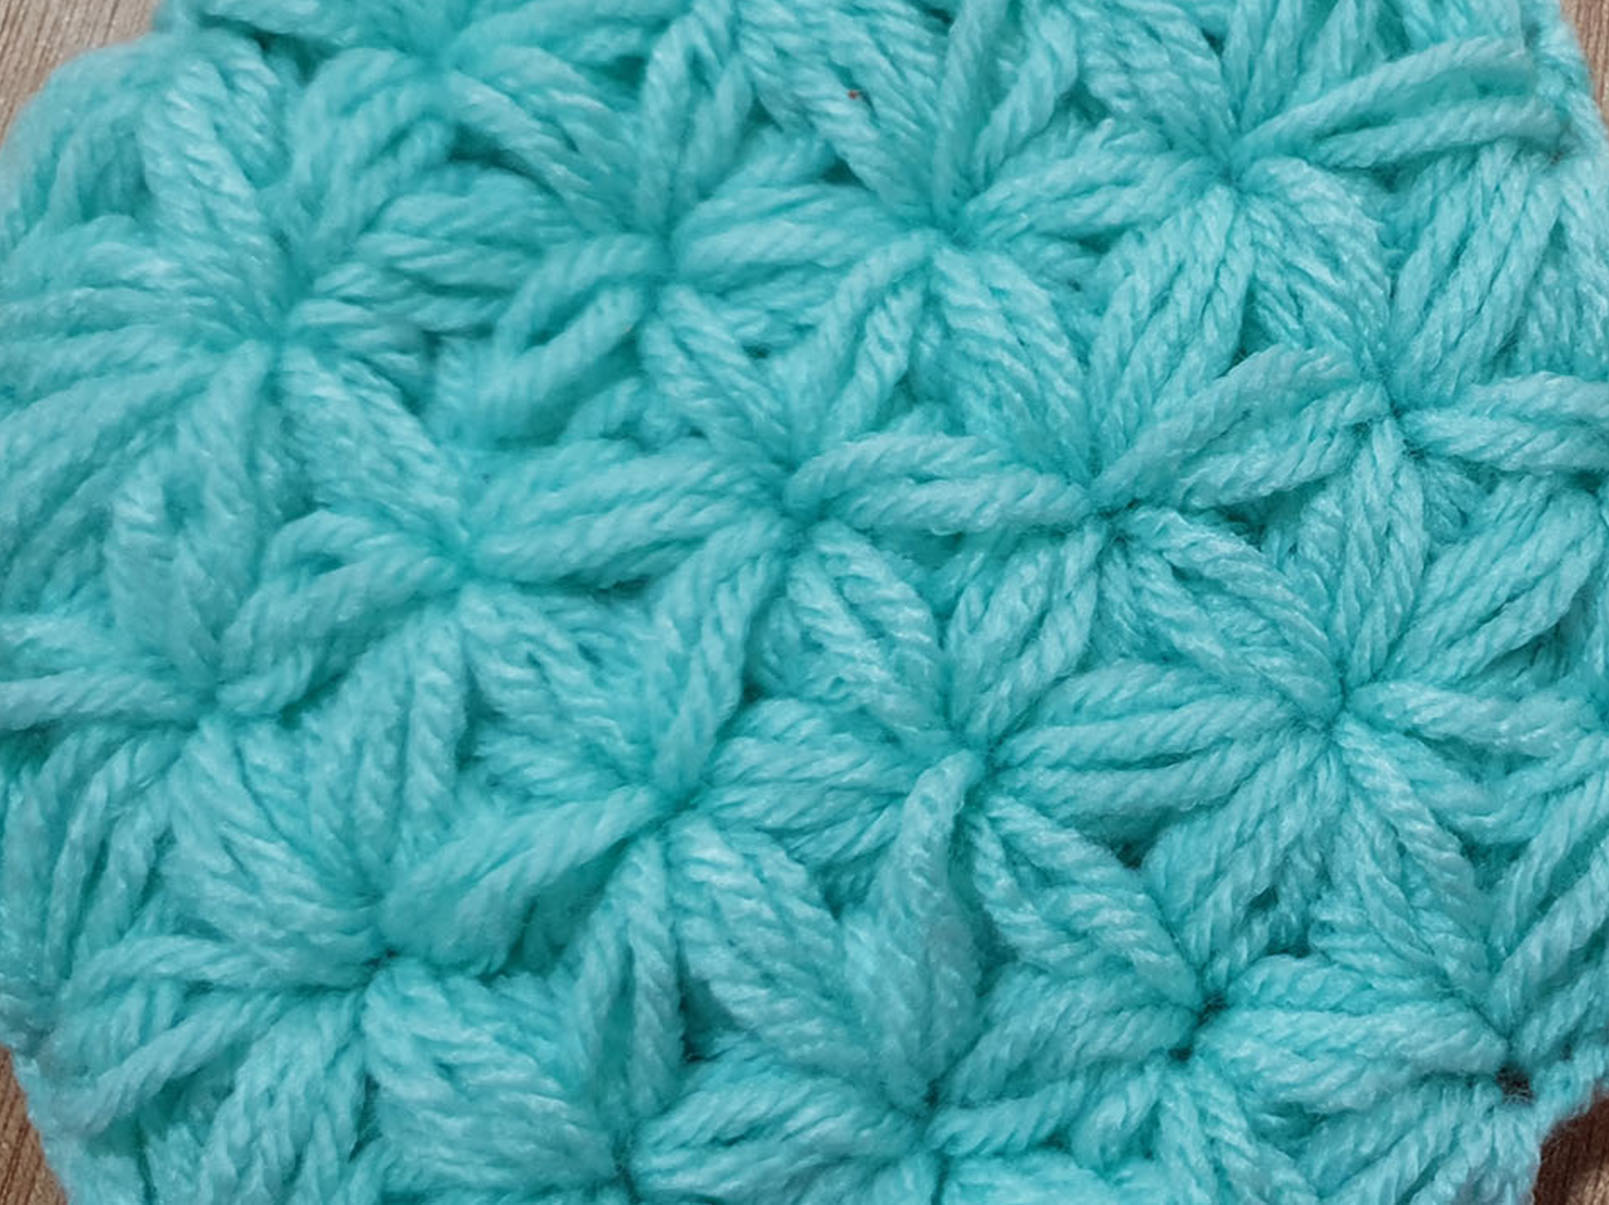
The Jasmine Stitch is a beautiful, intricate crochet pattern that creates a stunning, textured fabric resembling clusters of star-like flowers. It’s perfect for blankets, scarves, and other projects where you want a visually appealing, thick texture. Although it may seem complex at first, once you understand the technique, you’ll find it quite rewarding. Here’s a comprehensive guide to help you master the Jasmine Stitch.
Materials Needed
- Yarn: Choose any yarn you like. The Jasmine Stitch works beautifully with a variety of yarn weights, but a medium (worsted) weight yarn is a good starting point for practice.
- Crochet Hook: Use a hook that matches your yarn weight. For worsted weight yarn, an H (5.0 mm) crochet hook is recommended.
- Scissors: For cutting the yarn.
- Tapestry Needle: For weaving in the ends.
Abbreviations
- ch: chain
- st: stitch
- yo: yarn over
- sp: space
- puff st: puff stitch
Basic Jasmine Stitch Overview
The Jasmine Stitch is essentially made up of puff stitches that are interconnected in a unique way to form a pattern of flowers or stars. Each puff stitch is created by pulling loops through previous stitches and then closing them together.
Instructions
Step 1: Create the Foundation
- Chain Foundation: Start with a loose chain. The number of chains should be a multiple of 2, plus 1 additional chain. For practice, you can start with ch 21.
Step 2: First Row of Puff Stitches
- Puff Stitch Setup: Skip the first ch from the hook, yo, insert the hook into the next ch, pull up a loop (2 loops on hook). Repeat * to * two more times in the same ch (6 loops on hook).
- Complete Puff Stitch: Yo and pull through all 6 loops on the hook. Ch 1 to close the puff stitch. This creates your first puff stitch.
- Repeat: Skip the next ch, and repeat the puff stitch process in the following ch. Continue across the row.
Step 3: Transition to the Second Row
- Turn Your Work: After completing the first row, turn your work.
- Begin New Puff Stitches: To start the first puff stitch of the second row, yo, insert the hook into the sp created by the ch-1 at the top of the previous puff stitch, pull up a loop (2 loops on hook). Yo and insert the hook into the base of the previous puff stitch (4 loops on hook). Yo and insert the hook into the sp between the first and second puff stitches of the previous row (6 loops on hook). Yo and pull through all loops on the hook, then ch 1 to close the puff stitch.
Step 4: Continue Puff Stitch Pattern
- Continue Across the Row: For each subsequent puff stitch, yo, insert the hook into the sp between the next two puff stitches of the previous row, pull up a loop (2 loops on hook). Yo, insert the hook into the base of the puff stitch just made (4 loops on hook). Yo, insert the hook into the sp between the next two puff stitches of the previous row (6 loops on hook). Yo and pull through all loops on the hook, ch 1 to close the puff stitch.
- Repeat Rows: Continue this pattern, repeating the instructions for each row until your project reaches the desired length.
Tips for Success
- Tension: Maintain consistent tension throughout your work to ensure even, uniform puff stitches. Loose tension can make the stitches too bulky, while tight tension can make it difficult to pull through all loops.
- Practice: The Jasmine Stitch can be challenging at first. Practice on a small swatch before starting a larger project.
- Yarn Choice: Smooth, slightly stretchy yarns work best for the Jasmine Stitch. Avoid using very fuzzy or stiff yarns as they can make the stitch formation difficult.
- Patience: Take your time with each stitch, especially when pulling through multiple loops. Patience and precision are key to achieving beautiful results.
Conclusion
The Jasmine Stitch is a stunning and versatile pattern that, while initially challenging, becomes quite intuitive with practice. By mastering this stitch, you can create beautifully textured projects that showcase your crochet skills. Whether you’re making a cozy blanket, a stylish scarf, or any other creative project, the Jasmine Stitch will add a unique and elegant touch. Happy crocheting!

